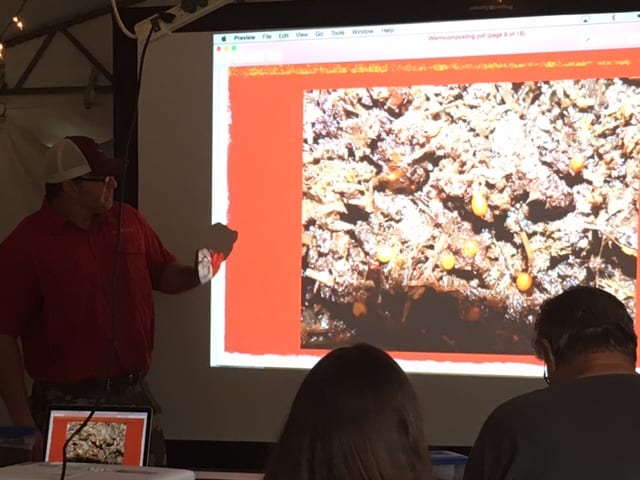
Last month, in part one of this series of blogs about worm composting, I tried to get you excited about entertaining the thought of becoming friends with worms. It was a little introduction to vermicomposting based on the seminar we had with Kyle Harrell from Texas Red Worms. If you missed the first blog, Vermicomposting: Opening My Own Can Of Worms, go back and take a second to read about the process of worm composting and then come right back to read this next installment.
(Learning all about worms with Kyle Harrell.)
Before the worm seminar, I had done a lot of googling DIY worm bins on the internet and so I purchased a few big plastic totes and was planning on making some worm bins to keep in the garage. After the seminar, I had a pretty good idea that I wasn’t going to be keeping them in those plastic totes in the garage. You see, I wasn’t adding temperature as a factor to a successful worm bin. I don’t know about you, but my garage gets hotter than Hades in the summer time and Kyle had explained that worms need a cool, damp soil to thrive. They prefer temperatures of 40-80 degrees. Now it is doable in these plastic bins if you want to spend extra time in making sure the temperature of the soil doesn’t get too hot, because worms will start dying off in the heat. Bottles of frozen water can be placed across the top of the compost each night to ensure a comfortable temperature, or you could keep the bins inside your home somewhere. But I know that for me, the routine of freezing and filling water bottles would soon become tedious and I might throw in the towel. And as much as I am developing a fondness for worms, keeping them inside just wasn’t going to happen. So I asked Kyle if I could come over to his place and check out his systems to see if any of them might work for me.
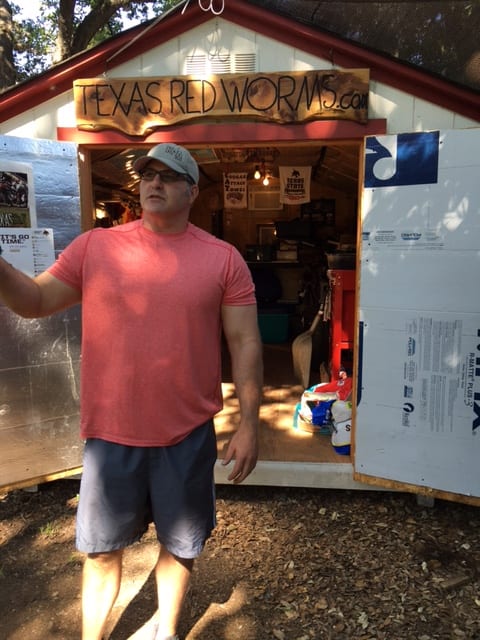
(Kyle in front of his work shed. What a cool backyard, full of life.)
It was so interesting over at Kyle’s place. He took me on a little tour to see his many worm beds, and I think I lost track of how many he had. The neat thing was that except for a few, they were pretty inconspicuous. Most were rock walls along a fence or next to the house, and they looked like raised garden beds. Kyle is a huge believer of working with what you have to make your worm bins. Whether it is rocks dug up from your yard, or old pallets, or recycled galvanized tubs, he says most people have exactly what they need just laying around their own homes and yards. He has a few pieces of equipment because, after all, this is his business and he has to keep up with the demand. But for the most part, if he needs a new bin, or worm casting sifter, he will just fashion one together. So my way of thinking was, hey, I can do this too!

(Kyle with one of his cinder block/stone raised worm beds.)
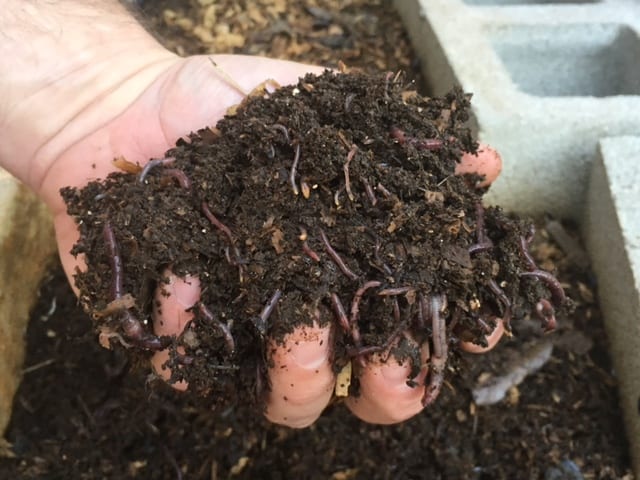
(Proof that his worms are fat and happy!)
Kyle was gracious enough to come over to my house to help me scope out some places in my backyard that would be suitable for a new home for my worms. he pointed out shady spots that would have protection from the hot afternoon sun. He also suggested that the worm bed be within close proximity to a hose, as the compost would need to always have good moisture throughout it. And lastly, maybe picking up on my lazy tendencies, he suggested it be closer rather than farther from the back door so that I would be more apt to visit it often with kitchen scraps for the worms to feed on. So, with all those suggestions, I believe I found the perfect spot. We had a patio put in our backyard years ago, and I made them leave behind all the huge limestone rocks they dug up. I’ve been using those rocks for raised garden beds all over my yard for years, and I had plenty left over just laying around. So I gathered up two dozen or so and went to work. I decided to build up against the house around a corner that is nicely shaded, and within reach of the hose. I didn’t make a huge bed to start with, this one is only about 1 and a 1/2 feet by 2 and a half feet. I figure I can always extend it along the length of the house if my worms multiply like I hope they will. The hardest part of this project was carrying the rocks; the rest was a piece of cake. I built the bed, fitting the rocks tightly together, filling in holes with smaller rocks. You could buy edging stones, or retaining wall stones to make your bed look a little more uniform, but I kind of like the rugged look. It looked pretty good after I was done, so it was time to fill it up.

(Toby gives his approval of the construction of the worm bed.)
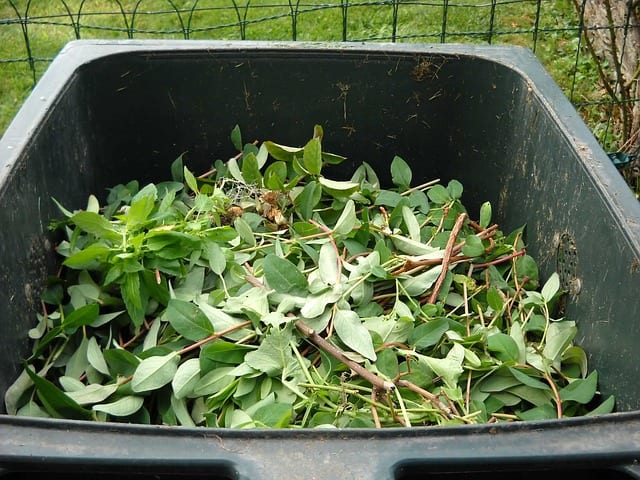
I have a compost bin that I’m constantly adding to, so when it came time to fill up my worm bin, I used mostly that and also mixed in some Fox Farm soil conditioner, which they consider their compost. When it comes to types of compost, Kyle says the more diversity you have the better. He will mix in his manure compost and food scraps/lawn scraps compost in the worm bed together. He likes to kind of pre-compost before it goes into the worm bed, but he says it not necessary, more of a preference. I like that idea too, so whenever I need to add compost to my worm bed, I will just pull from the bottom of my compost pile. After the bed got filled, I brought the hose out to water the compost real well so that as soon as the worms got dropped in it would feel like a place they might want to stay.
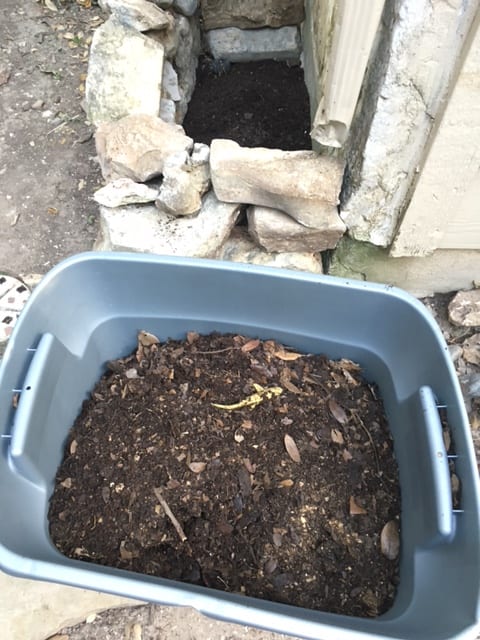
(Great pre-composted compost to fill up the bed. I think I’ll take the little plastic shark out though! How’d that get in there? Toby…..?)
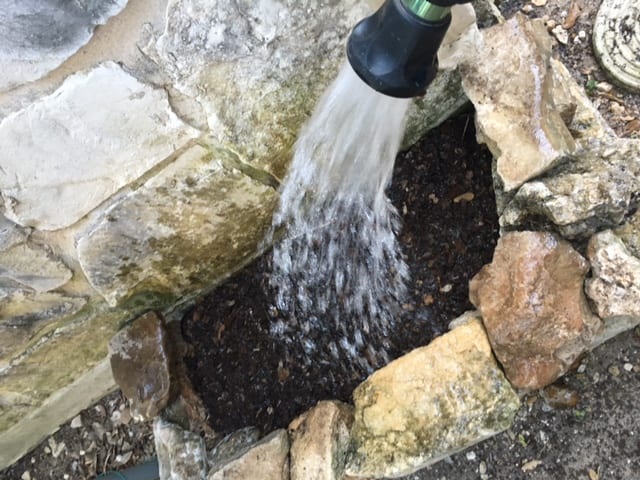
(Moisture is key to happy, cool worms.)
Time for the little wrigglers to meet their new home! I simply brought out the little starter bin and dumped them right into the new worm bed. Right away they started diving down into the compost. I couldn’t help but think they were singing the song from the musical Annie when she first sees Daddy Warbuck’s mansion…”I think I’m gonna like it here”. I gave them an extra little watering and then tucked in a little snack of some old tomatoes, bell peppers, and celery that I had in a food scrap bucket on its way to the compost bin. Next I found some old outdoor carpet to fold up and lay across the bed. This gives them extra protection from the sun, keeps in the moisture, and gives a heavy feeling to the top of the compost which makes the worms feel safe and willing to come up to the surface to feed. I might add a layer of damp newspaper on top later to add to the moisture lock layer.
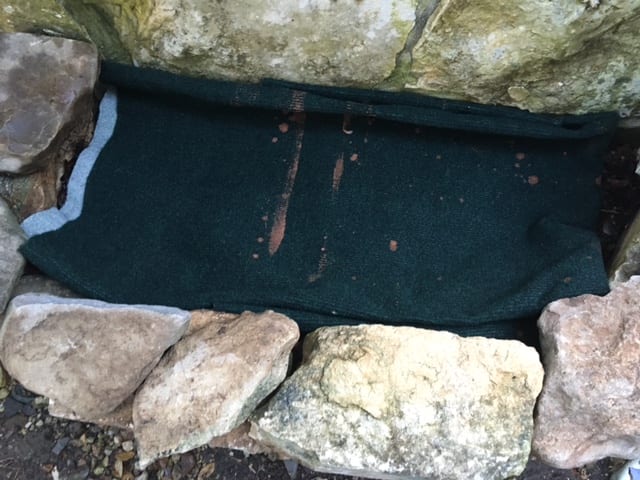
(Finished project with carpet layer on top.)
That was it! The whole project took me less than an hour to complete from start to finish. I’ll just have to follow up with watering and bringing them snacks a little at a time; but other than that I can leave them alone for awhile to do their work. The next blog in the series will be about harvesting worm castings and putting them to use in my garden. This has been a fun adventure so far and I hope you’ll join me for my next one.
The Happy Gardener
Lisa Mulroy