
Planting fall tomatoes early offers them the time they need to grow and set flowers and fruit before the cold arrives to shut down their production. That all makes sense to you. But what might not make sense is planting fall tomato transplants in the hot temperatures that mid to late summer can bring. I get it, it does sound a bit screwy. But with the proper prep, and a little extra care and protection, you really can, and need to start your tomatoes early for a bountiful fall harvest.
Our first plan of action is to try our BBPP method, where you buy (early for best selection), bump (pot smaller tomatoes into larger containers), protect (use shade cloth in summer), and then plant (get your tomatoes in the ground no later than Sept 15th.) See our BBPP guide here. After that, the following tips will set you on the right track for getting your gardens ready and growing your tomatoes successfully.
Tips for Planting Early Fall Tomatoes

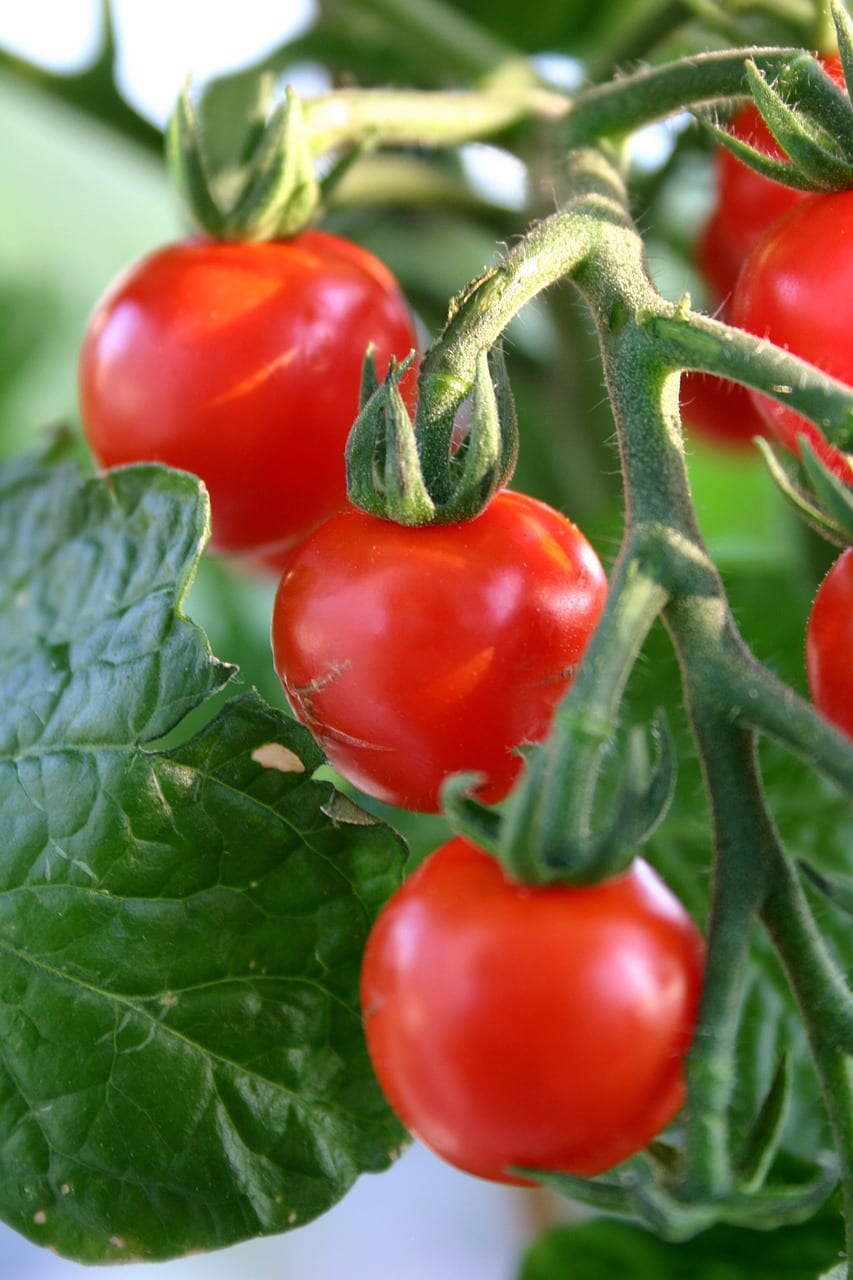
(Early fall tomatoes at Rainbow Gardens.)
1. Start off with a deep watering of your soil a day or two before you plant your tomatoes. You want to soak the soil several inches deep. You’ll be offering your plants their first supply of necessary moisture for their developing roots that they won’t get if you plant in dry soil and then water. This is also the first step you want to take when planting seeds. (The next day, plant seeds and water again lightly.) Along with your deep soil watering, make sure your transplants are watered thoroughly while still in their existing containers before you add them to your gardens. You’ve now created the optimal environment for your tomatoes to begin to develop.
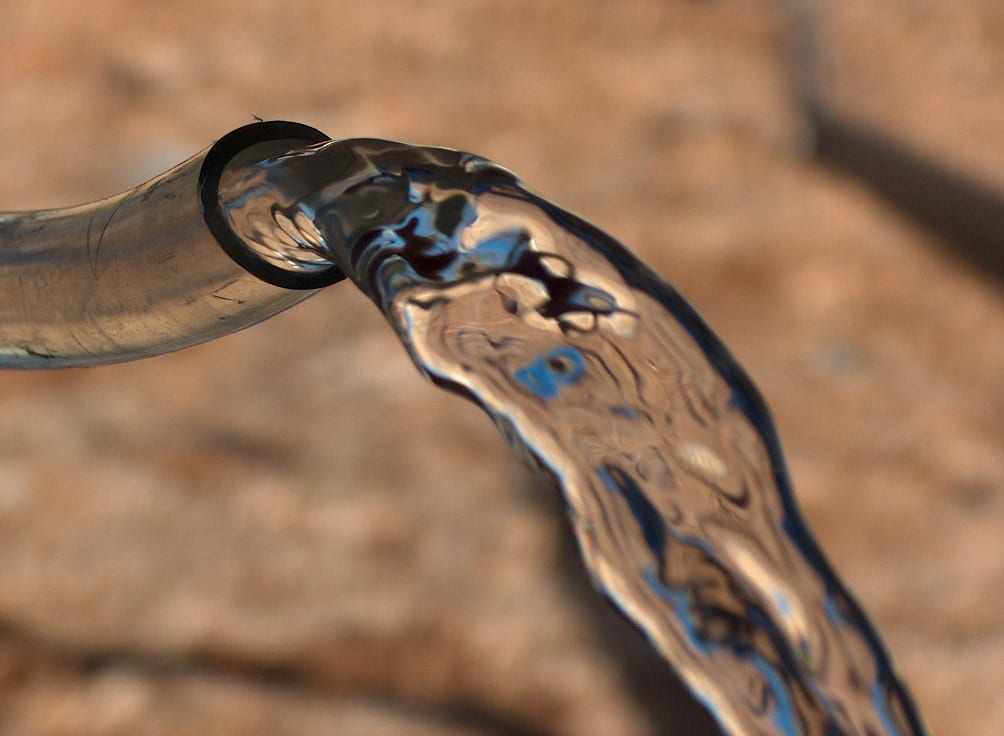
(Pre-soaking a crucial step.)
2. Dig your fall tomato holes. When it comes to tomatoes, plant deep! (You can usually remove the bottom two sets of leaves off the transplant and plant up to there.) Put a cup of rock phosphate in the bottom of each hole and plant your tomato right into it. This offers your tomato transplants a source of calcium that is a huge help in fighting against all those nasty blights and blossom end rot disease problems that tomatoes tend to develop. If you haven’t tried this tip yet, it could be a complete breakthrough for you. Keith Amelung, our heirloom tomato grower, swears by this and some other great tips. I start all my fall tomatoes (and spring tomatoes too) in rock phosphate and will never go without it.
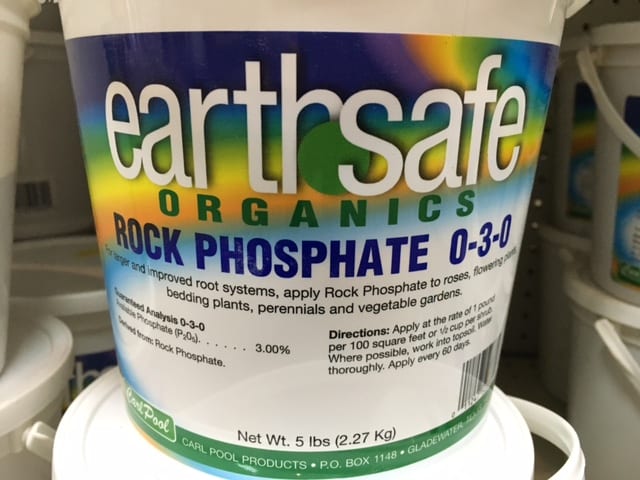
(Tomatoes love rich, organic soil.)
3. Once you have your tomatoes planted in their nice new homes. Water them in with some soluble fertilizer to give them a jump on their growth. I personally like using FoxFarm Grow Big at the beginning stage of growth for my tomato transplants. It is formulated for lush, vegetative growth and gives them a great start.
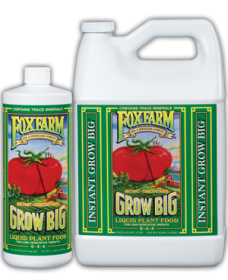
(Water your transplants in with soluble fertilizer)
4. One of the most important steps during this time of year, give your early fall tomatoes some shelter from the hot afternoon sun. Yes, tomatoes like sunshine, but the rays at the end of summer are brutal and your new transplants are tender. You can go ahead and place your tomato cages around your transplants (I mean who wants to wrestle with placing it over long tomato limbs later anyway), and drape some shade cloth around the cage. It will let the right amount of light through but also shelter the plants so that they don’t get scorched. As an alternative, you can make a cheap lean-to out of cardboard or something of the like, and place it to where it will offer shade during the hottest part of the day. By the way, your seed rows should also have some type of shade fabric over them for a couple of weeks while they emerge and get established. It’s just plain, blistering hot out there!

(Light weight fabric row cover works great to let light in and allow air circulation.)
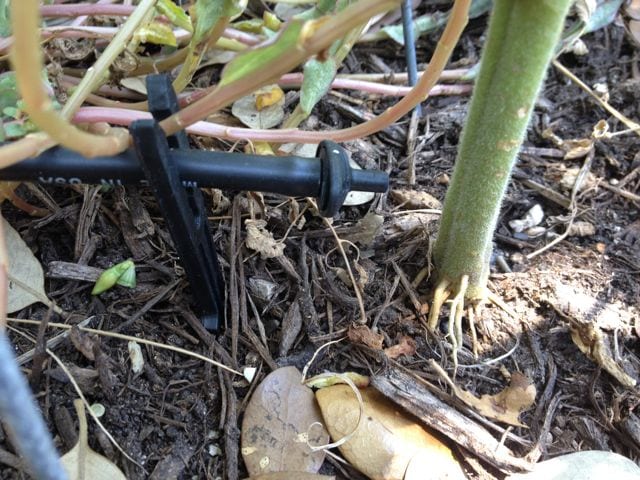
5. Be diligent with your watering from now on. It’s always best to water your transplants in the morning. Deep, infrequent watering is better than shallow and frequent. Remember, tomato roots run deep so that’s where you should be trying to get the water to. Overhead watering contributes to fungus issues. Drip irrigation is awesome for veggie gardens, and it is fairly easy to set up yourself. Avoid wetting the foliage and avoid hard blasts to the soil; a gentle, deep soak is what they prefer. Also, if you see your tomato looking wilted by the middle or end of the day, it is not necessarily a sign that it is thirsty. Don’t run for the hose right away. If you’ve soaked it well in the morning, it could just be responding to the heat. See if it perks up by the next morning. Over-watering can cause root rot and demise as fast as lack of watering. If you think it is dry, dig down a few inches and feel if the soil is actually still damp. If wet, let it set. If dry, give water a try.
6. After following these steps, treat your fall tomato transplants as you would in spring. By feeding them, pruning them (removing small shoots that grow out of the point where each leaf joins the main stem…in the “v”, pictures and examples in this blog), and watering them consistently. With your garden bed prepped full of compost and micronutrients, and being consistent with feeding and watering, you should be well on your way to having fruit set when the heat breaks and cooler weather rolls in. It’s not just tomatoes that you have another shot at growing right now. Peppers, cucumbers, squash, eggplant, all get a second chance with late summer/early fall planting. Come take a look at what we’re starting to bring into the nursery and plan on eating fresh all year round!
~ The Happy Gardener, Lisa Mulroy
1.) How does one get rid of spider mite on tomatoes?
2.) And, if one has pulled the spring tomatoes because of spider mites, can one plant fall tomatoes in the same space or will they suffer the same problem?