Composting
On This Page:
Starting a Compost Pile
t’s easy to create your own compost. To be successful you only need a few items and elements. We’ll talk about each of them on this page so you’ll easily know exactly what you need to start your own compost pile. For those of you who don’t desire to make your own compost, Rainbow Gardens supplies soil conditioners and compost in bagged form at our nurseries for your convenience.
1. Space:
You can purchase a compost bin, make one, or start composting in an area on the ground. A compost bin generally speeds up the compost process a little and can keep animals out of your compost, but they are generally more costly. A DIY compost bin can be as easy a 3 foot circle of fine wire mesh (¼” between wire) that stands 3-4’ high. Or you can make one from recycled pallets. You can also just let your compost pile start right on the ground.
2. Air Circulation:
The best conditions for rapid and thorough composting, allow for air circulation. Start your compost pile with 3” of coarse material like branches and twigs. Air can then circulate from the bottom and up through the compost pile. You also create air circulation when you turn your compost pile, which you will need to do regardless, every two weeks or so. Turn with a pitchfork, shovel, or garden probe, bringing the bottom of the pile to the top, opening air pockets in the process.
3. Carbon and Nitrogen:
The core of your compost is carbon and nitrogen, mostly in plant form. High carbon materials are dried leaves, bark, sawdust, wood chips, etc. High nitrogen/high protein materials are fresh grass clippings, vegetable matter, kitchen waste, and manure. Add these materials to the compost bin, in alternating layers, on top of your coarse layer, to a height of about 6”. When adding manure, just don’t add too much (probably only 10-15%).
4. Water:
Your compost needs water for the breakdown process. The compost should be moist, but not soggy; it should have the feel of a squeezed out sponge. In periods of prolonged rainy days, you may need to cover it with a tarp for a bit, otherwise your compost will get soggy, compacted and difficult to turn.
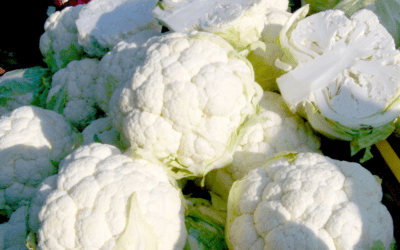
Cauliflower: Tips for Growing in San Antonio, Texas
If you're looking to cultivate cauliflower in San Antonio, Texas, you're in luck! With the right conditions and a bit of know-how, you can enjoy this sometimes-tricky-to-grow, versatile vegetable straight from your garden. Let's explore how to successfully grow...
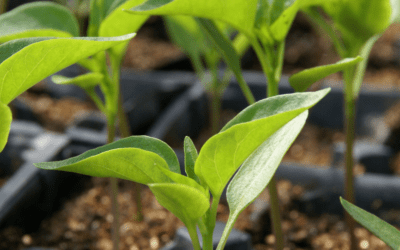
Growing Peppers by Seed in San Antonio, Texas
Growing peppers from seed is an exciting and rewarding endeavor, especially if you're gardening in a warm climate like San Antonio, Texas. Whether you're a seasoned green thumb or a curious beginner, this guide will walk you through the essentials of nurturing these...
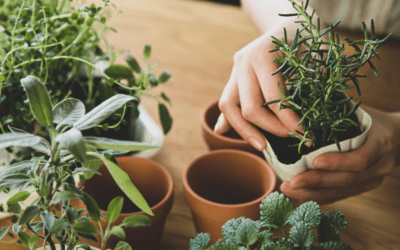
8 Herbs to Plant in Containers During the Cool Seasons
Growing your own herbs can be a fulfilling and practical hobby, especially when space is limited. Whether you're an apartment dweller or simply lack a large garden, container gardening offers a fantastic solution. Not only does it bring the joy of fresh, flavorful...
Winter Tips for Edible Gardens in San Antonio
It might be winter in San Antonio, but there is still plenty of things to do in our edible gardens. Take a look at some winter garden tasks that you should be taking on through January and February, in order to have a successful spring edible growing season. ...
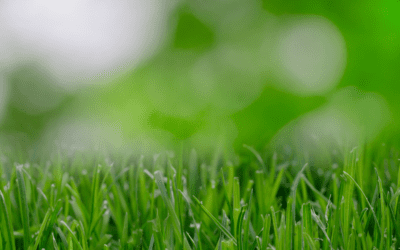
Winter Lawn Care for Warm Season Turf in San Antonio, Texas
Lawn care might not be the top thing on your mind, but there are still a few things you should think about when it comes to your turf during winter. Lawn Care Tasks for Winter While warm weather lawns are currently dormant, it’s a good time to assess any damage...
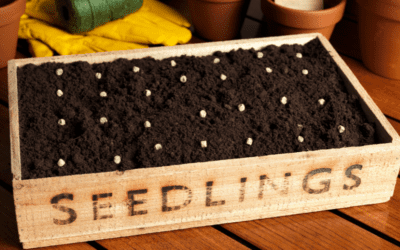
Indoor Seed Starting Starts Now!
It's winter in San Antonio, and while most folks are bundled up watching reruns of their favorite TV shows, you're embarking on a gardening adventure right in your own home. Our gardening seasons are relatively short, so getting a jump on starting seeds indoors offers...

What’s the Best Garden Gift Ever? Planning!
The holiday season is upon us, and what better gift to give yourself than the promise of a thriving garden in the coming year? For all the passionate gardeners in San Antonio, the key to a successful gardening season lies in meticulous planning and preparation. By...

What Happens to Plants During a Freeze
When a freeze occurs, the cells within a plant undergo a series of changes that can be quite damaging. As temperatures drop, the water inside the plant cells begins to freeze. This process causes ice crystals to form, which can puncture or rupture the cell walls,...
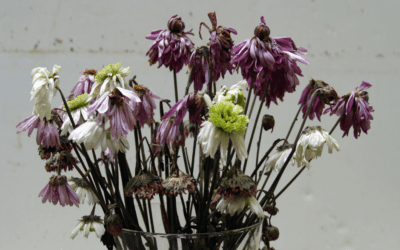
Ahh, the smell of …..rotten flowers? Why good water goes bad!
The holidays often bring gifts of fresh cut evergreens and holiday flowers displayed in awe-inspiring arrangements. They can fill a room with the scent of fresh pine, or sweet rose and...wait, what's that rotten smell? Suddenly it’s not the aroma of holiday cheer that...
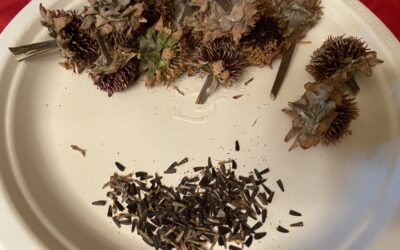
Collecting Seeds from Warm Weather Plants in Winter
Collecting seeds during the winter months can be a rewarding and cost-effective way to prepare for your spring garden. Winter is beating a the door, so it’s the perfect time to collect seeds from some of those cold and frost sensitive plants. Whether you're a seasoned...
Vermiculture: Worm Composting
Basic Requirements
A shallow container – about 12″ deep, with a cover to keep it dark inside the bin.
A controlled temperature – the temperature of the bedding material should not exceed 84º F. The optimum temperature range is 55-77º F.
Moisture – worms need water to keep their skin moist, but not so much that they drown
Ventilation – worms need air to breath. There are also other little organisms that are at work breaking down the organic material placed in the bin. These organisms need air. If there is not enough oxygen, the worms and other helpful organisms will die. Microorganisms that do not need air will move in, rotting the material in the bin and giving off unpleasant smelling gases as a byproduct.
Food – our trash is their treasure. Fruit, grains, vegetables, egg shells, coffee grounds, and tea bags are all fine. Avoid meat, fish, milk, fats and oils, and pet droppings.
How many worms will I need?
The first step to setting up a healthy worm bin is to determine how much organic matter will be added each week. (This may require some weighing until you feel comfortable estimating amounts.) Divide the amount discarded by seven to determine the average amount of daily waste. The recommended “worm to garbage” ratio is 2:1. So for each 1/2 pound of kitchen waste you should have 1 pound of worms.
What size worm bin do I need?
Again we return to the amount of waste produced each week. The minimum recommended amount of space is 1 square foot of surface for each pound of garbage. As an ex- ample:
If your household produces 6 pounds of waste per week, a good size for your bin would be 2′ x 3′ x 1′. Hint: It might be helpful to start with this size bin, restricting the amount of waste you add until you are familiar with the process.
How do I set up my worm bin?
Determine how many pounds of garbage you plan to dispose of in this manner.
Calculate the amount of worms needed.
Calculate the amount of surface space needed.
Secure a container of the proper size, either purchased or built.
Collect newspapers to shred, and a gallon jug to measure water. Example:
For a 2′ x 3′ x 1′ box, from five to eight pounds of newspaper is recommended. After weighing out the proper amount, begin shredding the paper into 1″ strips; crumple it up to prevent matting. Multiply the weight of the paper by three to determine the amount of water needed. (A gallon of water weighs approximately eight pounds.)
Mix the shredded paper and water thoroughly. It is very important that all of the paper be wet. If there are puddles of water remaining in the bottom of the container, pour them out or add more paper. Also mix in one to two cups of soil to supply grit for the worms.
When the worm bin is set up, open the container of worms and dump them on top. Spread any clumps of worms over the surface. The worms will start moving into the bedding to avoid the light. Leave the lid off and the light on; after about an hour remove any worms that have not made their way down into the bedding; these worms are probably not going to make it. It is now ready to add the food scraps.
Adding kitchen waste…
A good method is to divide the box into twelve imaginary squares. Rotate through the squares as you add material to avoid burying stuff in the same place too soon. Try not to “overload” the system.