It’s winter in San Antonio, and while most folks are bundled up watching reruns of their favorite TV shows, you’re embarking on a gardening adventure right in your own home. Our gardening seasons are relatively short, so getting a jump on starting seeds indoors offers your spring gardens a head start that you shouldn’t brush off.
Timing is Everything for Indoor Seed Starting
To have transplants ready for the San Antonio spring garden, you’ll want to start your seeds indoors about six to eight weeks before the last expected frost date, which typically falls around mid-March. So, dust off your calendar and mark down early January as go-time for your indoor seed starting extravaganza.

What Seeds to Start Indoors?
For vegetables, consider starting seeds of veggies like tomatoes, peppers, and eggplants, as well as herbs like basil and oregano indoors. These warm-weather lovers need a bit of extra time to grow up big and strong before facing the great outdoors. If you’re a fan of leafy greens, give lettuce and kale a head start too! Stay away from starting any root vegetables indoors. These do not transplant well due to their long tap root.
On the flower front, nasturtiums, marigolds, zinnias, and cosmos are excellent candidates for early indoor nurturing. Starting these seeds indoors now means you don’t have to wait so long for color to fill spaces in your garden when warmer weather starts to arrive. Besides, these beauties will also attract all sorts of beneficial pollinators, giving them some well-needed sustenance with their nectar.
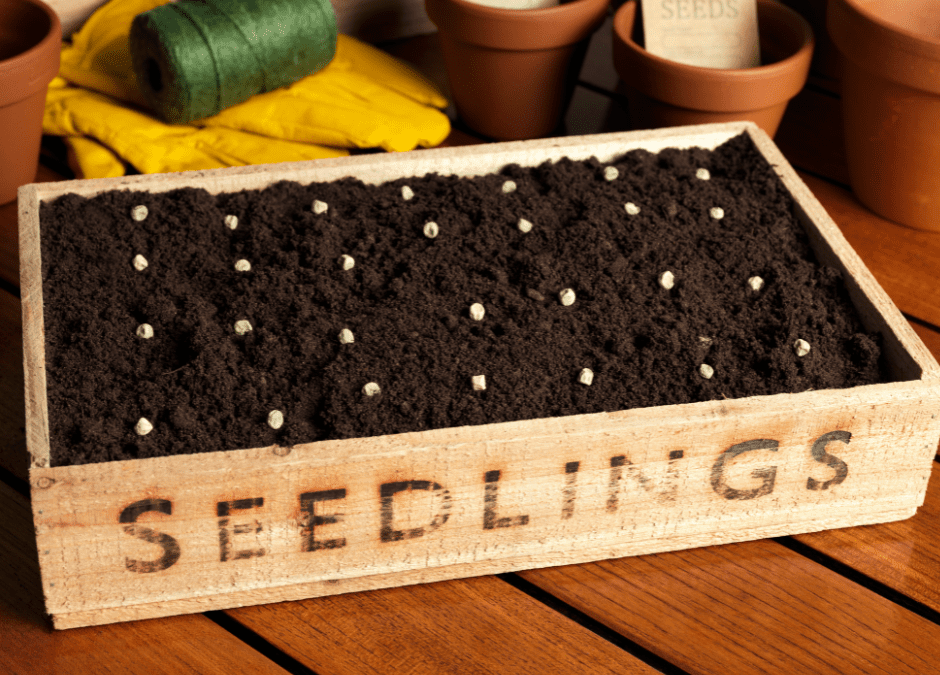
Seed Starting Supplies: The Essentials
Before you dive in, let’s gather your seed starting toolkit. Here’s what you absolutely need:
- Containers: Anything from seed trays to newspaper containers or even yogurt cups will do. Just ensure they have drainage holes to prevent water-logged roots.
- Seed Starting Mix: A lightweight, sterile mix is best to encourage healthy root development. You’ll find plenty of options on the shelves. These lightweight seed starting mixes allow roots to easily grow without obstruction.
- Light Source: A sunny window could work, but it really needs to be sunny all day, and you’ll need to turn your containers often for even exposure). For optimal growth, you may want to invest in grow lights. Your plants will appreciate the extra rays.
- Heat Mat: This is optional but beneficial, especially for heat-loving seeds like peppers and tomatoes. (Still have some incandescent holiday lights around? You can place them under seed trays and plug in overnight to mimic a heat mat.)
- Watering Can or Spray Bottle: Keep your young seedlings hydrated but not drenched. Please heed this advice. over saturating your soil is a quick way to kiss your indoor seeds goodbye. Soil that is too wet leads to fungal issues (and fungus gnats) that can rapidly kill your seedlings.

The Fun Part: Planting and Growing
Once you’ve gathered your supplies, it’s time to get your hands dirty! Plant your seeds according to the packet instructions (look inside the packet lining for extra tips), keep soil moist but not waterlogged, and position them under your light source. Then, sit back and watch the magic unfold as tiny green shoots emerge, promising fresh produce and vibrant blooms come springtime.
Starting seeds indoors during winter not only gives you a jumpstart on the growing season, but it also offers a delightful escape from the winter blues. Plus, you’ll have bragging rights when your neighbors see your flourishing garden. So, roll up those sleeves, and let the winter gardening adventure begin! For extra help, check out our archived seed starting blog series: Part 1: Supplies, Part 2: Seed Prep, Germination, Maintenance, and Part 3: Hardening off Transplants.
~The Happy Gardener, Lisa Mulroy