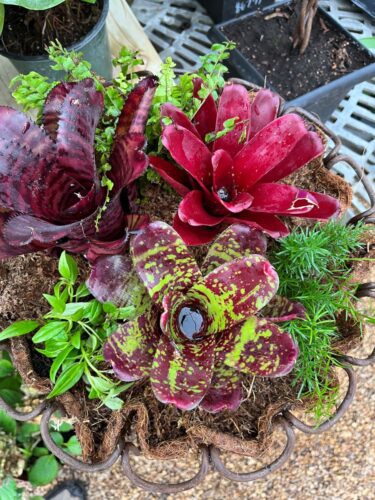
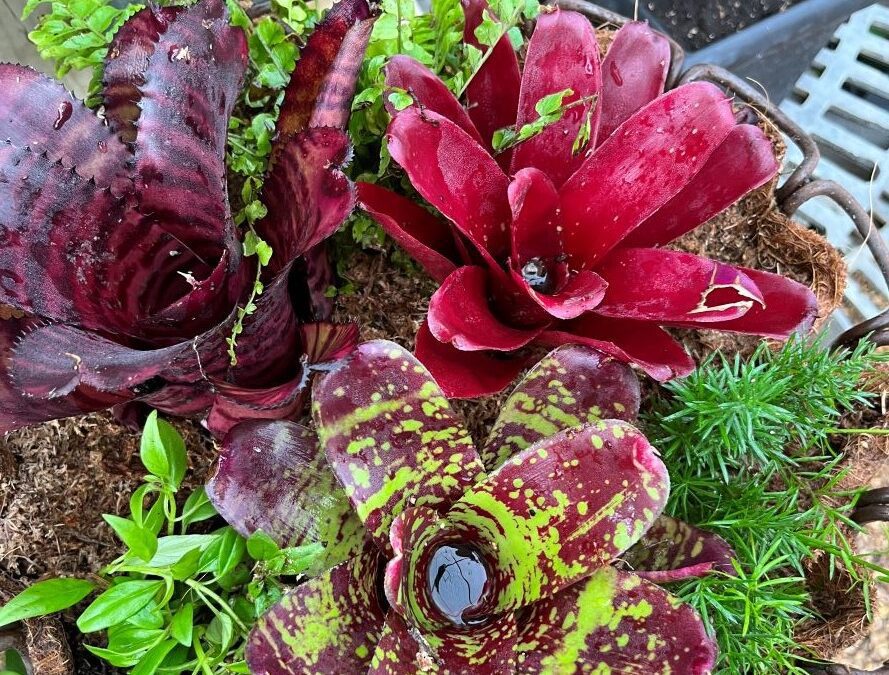
Bromeliads are beautiful tropical plants that can thrive in pots, but they do require proper care to stay healthy. While you scroll through some of these gorgeous pictures (arrangements made by Kevin Thomas), please also enjoy some tips on how to take care of bromeliads in pots or containers. We currently (June 1st) have a limited quantity of these beauties, so if you get inspired today, make sure you visit soon to get your plant(s).
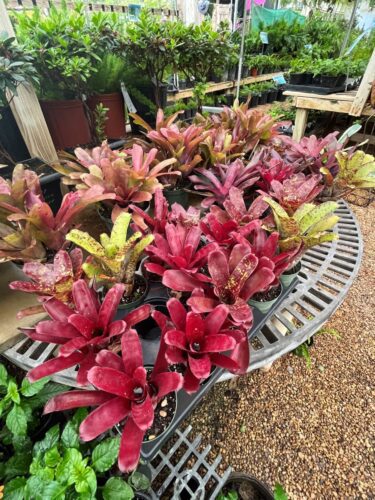
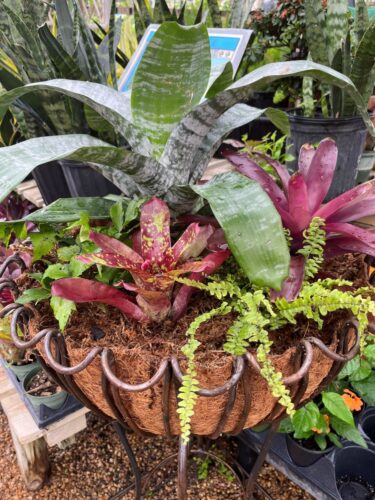
8 Great Tips for Growing Bromeliads in Containers.
Drainage Holes: First and foremost, any container you choose for your bromeliads MUST have sufficient drainage holes. Without them, there is no way for extra water not drawn up by roots to escape. This is an easy way to achieve root-rot which is basically a death sentence for your bromeliads.
Watering: Bromeliads are epiphytes, which means they don’t need a lot of water. Water them sparingly, only when the soil is dry to the touch. Actually sticking your finger into the soil is the best way to feel for soil moisture (looks can be deceiving when it comes to the top of soil). Most people harm their bromeliads by overwatering way more than by underwatering. Most likely you will only need to water 2- 4 times a month.
Be mindful that tap water may have chemicals, salts, and/or calcium that could cause problems for bromeliads. This is why distilled, or rain water are better choices for watering these tropical beauties.
We recently potted up some bromeliads in coco baskets and they look fantastic in these.
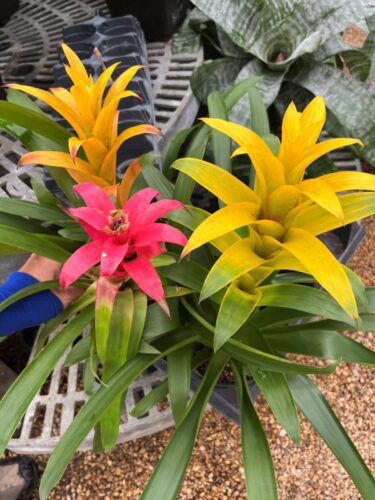
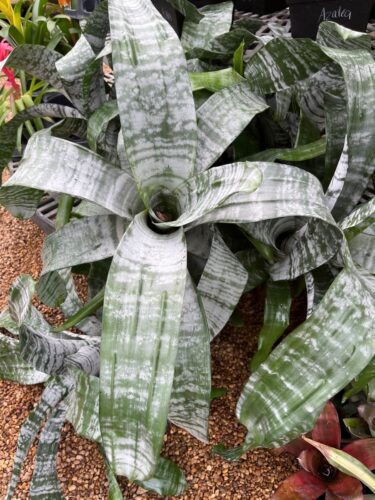
Light: Bromeliads prefer bright, indirect light. Place them near a window with filtered sunlight or under a grow light if you don’t have enough natural light. When planted inside, rotate bromeliads you’ve placed by your windows about a quarter turn, every two weeks to a month, so that each side of your plant receives equal light exposure.
Remember, bromeliads are tropical plants and need bright light, but direct sun will burn them. If using as an outdoor patio plant, they should be getting morning sun ONLY!
Temperature: Bromeliads prefer warm temperatures between 60-85°F. Avoid exposing them to cold drafts or hot, direct sunlight. Most homes are comfortable when temperatures are set somewhere in the middle of this range. If you are growing your bromeliads in your home and keep it warmer than 80°F, just keep in mind that more humidity will be needed.
Outside, bromeliads will sustain damage once the temperatures drop below 50 degrees. Bromeliads planted in containers can be brought in to easily protect them.
Soil: Bromeliads don’t need soil to grow, but they do need a well-draining potting mix. You can use a mix of bark, perlite, and peat moss.
A ratio of 1:1:1 is perfect. Specially formulated orchid potting soil is a suitable substitute for a potting medium if you don’t want to take the time to make your own.

Fertilizer: Bromeliads don’t need a lot of fertilizer, but you can use a balanced fertilizer once a month during the growing season (summer). Look for something like 20-20-20 on the fertilizer product, or an equal ratio, as you just need to use a common balanced fertilizer; orchid fertilizer is an example. You really don’t need that much, too much fertilizer may cause your bromeliad to actually lose some of its brilliant color and you may end up wih leggy growth.
Humidity: Bromeliads prefer high humidity, so you can mist them with water or place a tray of water near them to increase the humidity level.
Again, keeping them away from drafts and air conditioning and heating vents will be helpful.
Repotting: Bromeliads don’t need to be repotted often, but you can repot them when the plant outgrows its pot, just beware of going to big when choosing the next size pot.
It’s helpful to know that young bromeliads can live in a 4″ container for quite some time, and most full-sized bromeliads can live quite happily in a pot only about 6″ in diameter.
You can see in some of these images that the arrangements may hold 2-3 bromeliads along with another plant or two, without the worry of overcrowding. They don’t have an extensive root system to worry about getting tangled up with each other.
By following these tips, you can keep your bromeliads healthy and thriving in pots.
~The Happy Gardener, Lisa Mulroy

Could you share some information about terrestrial bromeliads, like, Dyckia, Hechtia, and Ananas? We even have a couple Hechtia native to Texas. These love full sun and are more cold tolerant than tropical epiphytic bromeliads.
Hi Nathan,
Thanks for the suggestion! Sounds like a future blog. Appreciate your comment.
Hello, Do you ship to Georgetown, Texas? I am recently out of the hospital and would love a plumeria. Thank you
Hi Judy,
Happy to hear you are out of the hospital and on your way to healing. However, I’m sorry we do not currently have the capability to ship plants.
I have a bromelaid that has been in a 4″ pot since I bought it about 6 months ago. It has been lovely and it looks like 4 new plants are starting along side the original one. Would this be an appropriate time to transplant it to a 6″ or 8″ pot?
Also, the instructions on the plant were to water it from the top by putting water slowly into the bloom. Is this the correct method?
I don’t think you necessarily have to repot just yet, unless it really is looking crowded. Every 18 months is usually sufficient. As for watering, it depends on what type of bromeliad you have. If it has a central tank, watering that from the top is advised, if it doesn’t have a central tank, you just make sure the substrate (material it’s planted in) is kept moist (but not soaking). Check out this great video that explains and shows different varieties and how to water them.
Question. My 2 plants had received too much water to where I had to take out of pot and placed in new pot. What is the best way to handle these to avoid root rot.
If the rootball of your bromeliad is waterlogged, you could gently put the plant on its side and slide out the plant onto several layers of newspaper and allow the rootball to dry, then repot. Otherwise, keep your watering schedule down to once every 2-3 weeks during the colder months.
Hello Bromeliad lover friends! Question. I just put my beautiful full grown Bromeliad in its forever home. Some websites that I’ve looked at suggest to water the plant moderately- to so the soil can settle. Although I’ve been reading that they don’t require a lot of water so I’m concerned to do this to the plant is it’s just been transplanted. Do you suggest that I water more than usual when it was first planted so the soil can settle or just leave it be and water very moderately as normal day to day care is suggested?
Also, I planted her in potting soil and peet moss. I hope this is ok as your sight suggests a different mixture.
Thank you!
Hi Torrie,
Sorry for the delay. I wouldn’t stress out the bromeliad by watering it too much more than you appear to have been doing. It sounds like you’ve been giving it the care it needs as it has developed to a full grown bromeliad. If you notice the leaves turning a bit grayish, you can fill up their cups in the top sections (avoiding getting the flowers wet). This offers them the humidity they love, but avoids overwatering the soil.