Starting seeds indoors is one of the most rewarding parts of gardening—but it’s also where small mistakes can lead to big frustrations. Follow these simple, proven germination steps to give your seedlings the best possible start. Make sure you go back and read our previous blogs on key factors that affect germination, and the best seed starting soil mixes.
Indoor Seed Starting Germination Steps
Step 1: Plant the Right Number of Seeds
More seeds don’t always mean better results.
-
Small containers or cell packs: Plant 1–2 seeds per cell.
-
Larger containers: You can plant 3–4 seeds, then thin later.
This gives you insurance if one seed doesn’t sprout, without overcrowding young roots.
Step 2: Proper Seed Placement (No Tunneling!)
Seeds need good contact with soil—but they don’t want to be buried too deep.
-
Press seeds gently into the soil surface
-
Don’t poke or tunnel the seed straight down
-
Cover with a thin layer of soil
-
Leave room beneath the seed for roots to grow
The goal is firm contact, not compaction. It’s a good idea to read the inside of seed packets as they often have information for proper seed planting depth. Some seeds need more light than others to germinate and some may need darkness. Ex: small lettuce seeds can practically just lay on top of the soil, while larger beans get planted deeper.

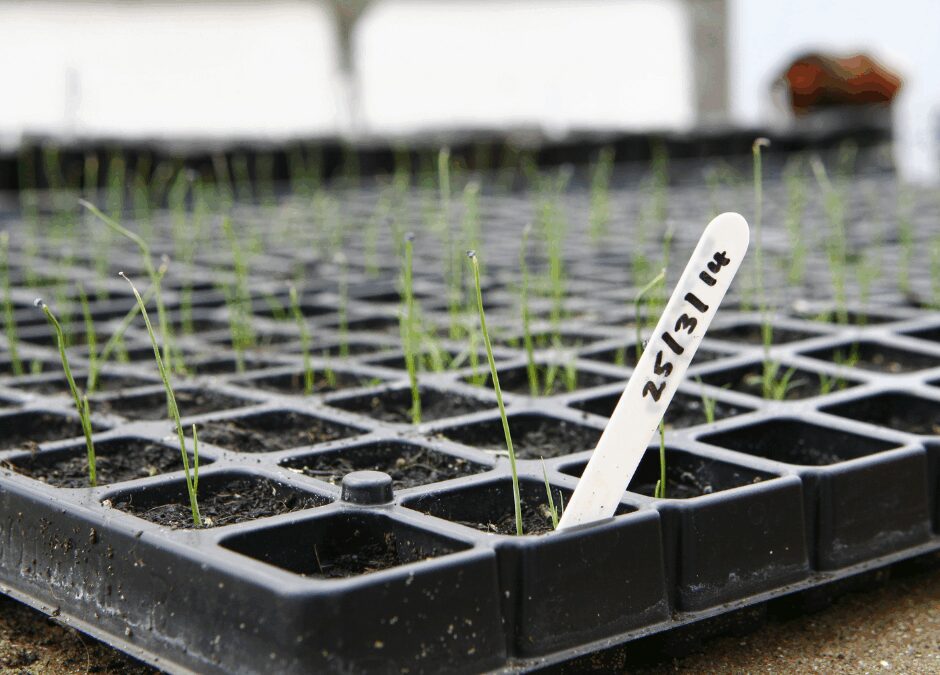
Step 3: Label as You Go (Trust Us on This 🌶️)
Before moving on to the next seed variety, insert your plant label immediately.
It only takes one forgotten label to turn: “Mild jalapeño” → surprise ghost pepper.
Labeling as you go saves confusion, disappointment, and spicy accidents later. Don’t make the mistake of thinking you’ll remember to go back at the end of your plantings and do this. It’s funny how quickly we can forget what we just did.
Step 4: Cover Seeds & Keep Them Warm
Warmth is the key ingredient for germination.
-
Cover trays with clear plastic or a humidity dome
-
Leave space between the plastic and soil surface
-
If the seal is airtight, you won’t need to water again until sprouting
Heat sources that work well:
-
A seedling heat mat (ideal)
-
Warm laundry room
-
Top of the refrigerator
Most seeds need warmth to germinate, then light after sprouting (with a few exceptions—always read seed packets).

Step 5: Let There Be Light ✨
Once seeds sprout (usually within 1–2 weeks):
-
Prop open the plastic cover for a couple of days to allow airflow
-
Remove the cover completely
-
Provide light immediately
Seedlings need light to produce chlorophyll. Without enough light, they become tall, weak, and leggy.
Lighting tips:
- Bright, indirect sunlight from a window can work
- Grow lights are ideal and allow you to grow seedlings anywhere
- If using windows, rotate trays every few days for even growth
Step 6: Thin Seedlings (It Feels Mean—but It’s Necessary)
If multiple seeds sprout in one container, thinning is essential. Thinning is a process that involves removing all but one sprout to ensure the remaining plant has the space it needs to develop sufficient, strong roots.
Wait until seedlings develop their first set of true leaves
-
Keep the strongest seedling
-
Snip weaker seedlings at soil level with pointed scissors
-
Avoid pulling seedlings out, which can disturb roots

Step 7: Watering & Feeding Young Seedlings
Your seed starting journey can quickly go sideways if soil is given too much or too little water. Too much water and you could find yourself with a fungus gnat infestation or worse, root rot! Too little water and it can be near impossible to sufficiently re-wet the peat moss in seed starting soil. Seedlings like consistency.
-
Keep soil evenly moist, not soggy
-
Spray bottles are perfect for gentle watering
-
Feel the soil often—don’t let it dry out completely
After about one month, seedlings are ready for light feeding. A fertilizer like FoxFarm Grow Big supports lush, leafy growth—perfect for young transplants preparing for the garden. Try diluting it to half strength for a gentle first feeding.
Final Thought 🌿
Great germination comes down to a few essentials:
proper planting depth, warmth, moisture, light, and patience.
Master these steps indoors, and you’ll be rewarded with strong, healthy seedlings ready to thrive outdoors. Remember, we are here at Rainbow Gardens to help you be successful in all your seed starting and plant growing adventures!
~The Happy Gardener, Lisa Mulroy