



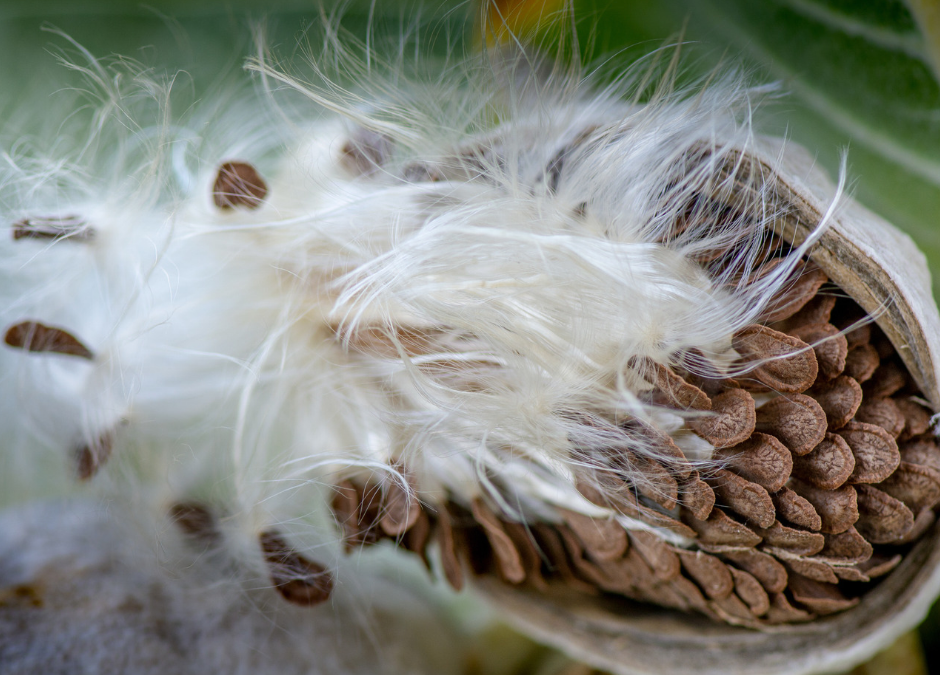
Don’t let the first frost or freeze mean goodbye for your favorite summer flowers or herbs. Many frost-sensitive annuals, tender perennials, and warm-weather herbs produce seeds that can be collected, saved, and planted again once the warmer weather returns again in spring.
What you need to know is how to distinguish when seeds are ready to be collected, and how to store them so they are viable when you need them again. We got you, boo! It’s all about seeds today.
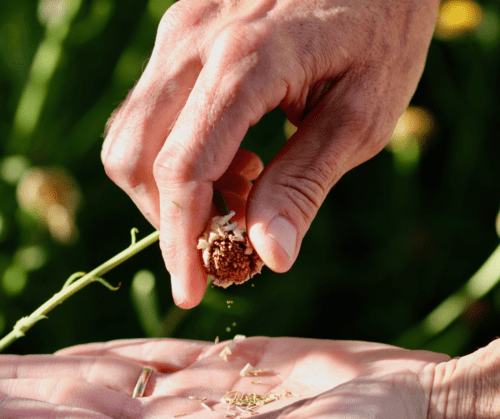
When to Collect Seeds and What to Look for.
In San Antonio, fall is a great time to collect seeds from warm-season plants before freezing temperatures arrive.
- Watch for fading flowers: After a flower has been pollinated, its petals eventually fade or fall off as the plant begins developing seeds.
- However, don’t cut flowers off immediately after they finish flowering. Seeds need time to mature while still attached to the plant. If you collect too early, you may collect seeds that won’t germinate.
- Look for drying seedheads: Many mature seedheads turn tan, brown, or papery and begin to open.
- Check seed pods: Pods often change from green to brown and may begin splitting open when the seeds inside are mature.
- Choose a dry day: Collect seeds after morning dew has evaporated to reduce the chance of mold during storage.
- Don’t wait too long: Some plants scatter their seeds naturally once they’re ripe. Collect them before they fall to the ground.
How to Know When Seeds Are Ready
Not all plants produce seeds the same way! Some develop obvious seed pods, while others hide tiny seeds inside dried flowerheads.
Here are a few signs to look for:
- Color: Mature seeds often turn brown, black, tan, or gray rather than remaining pale or green. Some species naturally have light-colored seeds.
- Texture: Seeds should generally feel firm and fully developed rather than soft or shriveled, and even wet.
- Seedheads: Flowerheads may become dry, brittle, or papery and release seeds when gently rubbed.
- Seed Pods: Mature pods often feel dry and may rattle when shaken or begin splitting open.
Easy Test: Hold a dry seedhead over a white sheet of paper and gently rub or shake it. If firm, fully formed seeds fall out easily, they’re likely ready to collect!
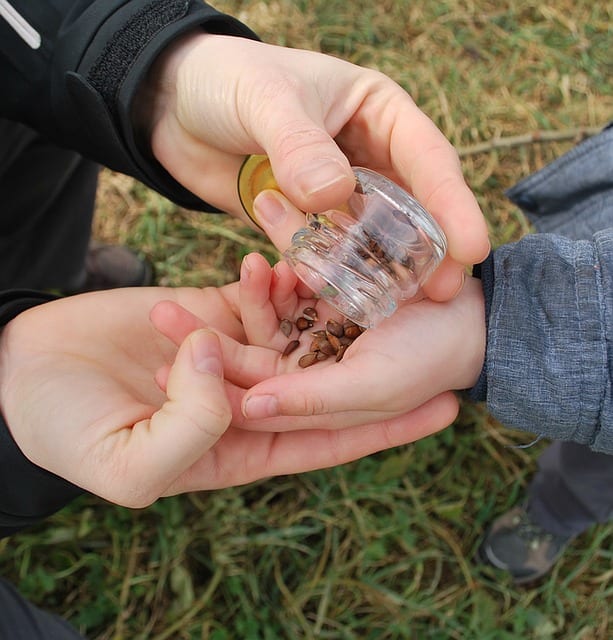
How to Collect Seeds
You don’t need any fancy equipment! A pair of scissors, paper bags, and a little patience will do the trick.
- Choose Healthy Plants: Select strong, disease-free plants with desirable flowers or growth habits.
- Clip Mature Seedheads: Use clean scissors or pruners to remove dried seedheads or pods.
- Collect in Paper Bags: Place seedheads into labeled paper bags or envelopes. Paper allows moisture to escape while the seeds finish drying. Don’t skip the labeling! It’s super easy to get confused once seeds are removed. Both dried flowers and seeds can look remarkably similar, so stick to one variety at a time.
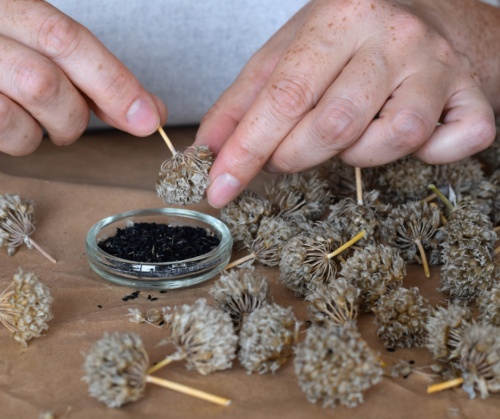
- Separate the Seeds: Once dry, gently shake, rub, or break apart seedheads to release the seeds.
- Remove Debris: Separate seeds from dried petals, stems, and other plant material, also called chaff.
Garden Tip: For seed pods that burst open when mature, slip a small paper or mesh bag over the pod before cutting it to catch any escaping seeds.
Extra Garden Tip: Some dried seedheads can be quite prickly and pokey. So be mindful of this and use gloves if needed.
Extra Extra Garden Tip: Don’t sneeze!
How Long Should Seeds Dry Before Storing?
This is one of the most important steps! Storing seeds with excess moisture can lead to mold, rot, and poor germination. They really need some time to dry out.
For most common dry-seeded garden flowers:
- Drying Time: Allow seeds to air-dry for approximately 7–14 days. Very dry seeds may need less time, while larger seeds or those collected in humid conditions may need longer.
- Location: Spread seeds in a single layer on a paper plate, coffee filter, or sheet of paper.
- Conditions: Choose a dry, shaded indoor location with good air circulation.
- Avoid Heat: Keep seeds out of direct sunlight and away from ovens, hot garages, or other heat sources.
How do you know they’re dry enough? Most dry-stored seeds should feel hard and dry, not soft or flexible. Larger seeds may snap rather than bend, while pods and surrounding plant material should feel crisp and brittle.
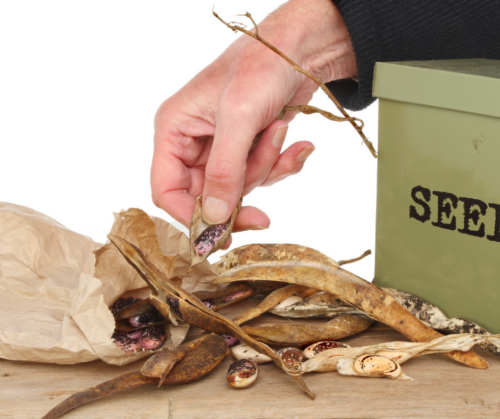
Best Ways to Store Collected Seeds
Once seeds are completely dry, proper storage will help preserve their ability to germinate.
- Paper Envelopes: Place dried seeds in small paper envelopes or seed packets.
- Label Everything: Include the plant name, variety if known, flower color, and collection date.
- Protect from Moisture: Place the envelopes inside an airtight glass jar or sealed container only after the seeds are thoroughly dry. A silica gel packet (like you find in shoe boxes) can help absorb excess moisture but aren’t a necessity.
- Keep Them Cool: Store seeds in a cool, dark, dry location. A refrigerator around 35–40°F is a good option for many common garden seeds, provided they’re protected from moisture.
- Avoid Temperature Fluctuations: Don’t store seeds in hot garages, outdoor sheds, or areas with frequent temperature changes.
How long will seeds last? Many common flower seeds remain viable for 1–3 years or longer when properly stored, but longevity varies by species. For the best results, try planting your collected seeds the following growing season.
A quick note about hybridized plants: Many garden plants are hybrids, meaning they’ve been bred for specific characteristics like flower color, size, or disease resistance.
- Hybrid Varieties: Seeds may germinate, but the new plants can look different from the original. Flower color, size, and growth habits may change.
- Embrace the unexpected.
Before the first freeze arrives, take a walk through your garden and look for mature seedheads on plants that won’t survive the winter. With a little patience and proper storage, you can enjoy another season of beautiful blooms grown from seeds you collected yourself!
Don’t take all the seed though. The birds will appreciate some left behind for winter sustenance.


